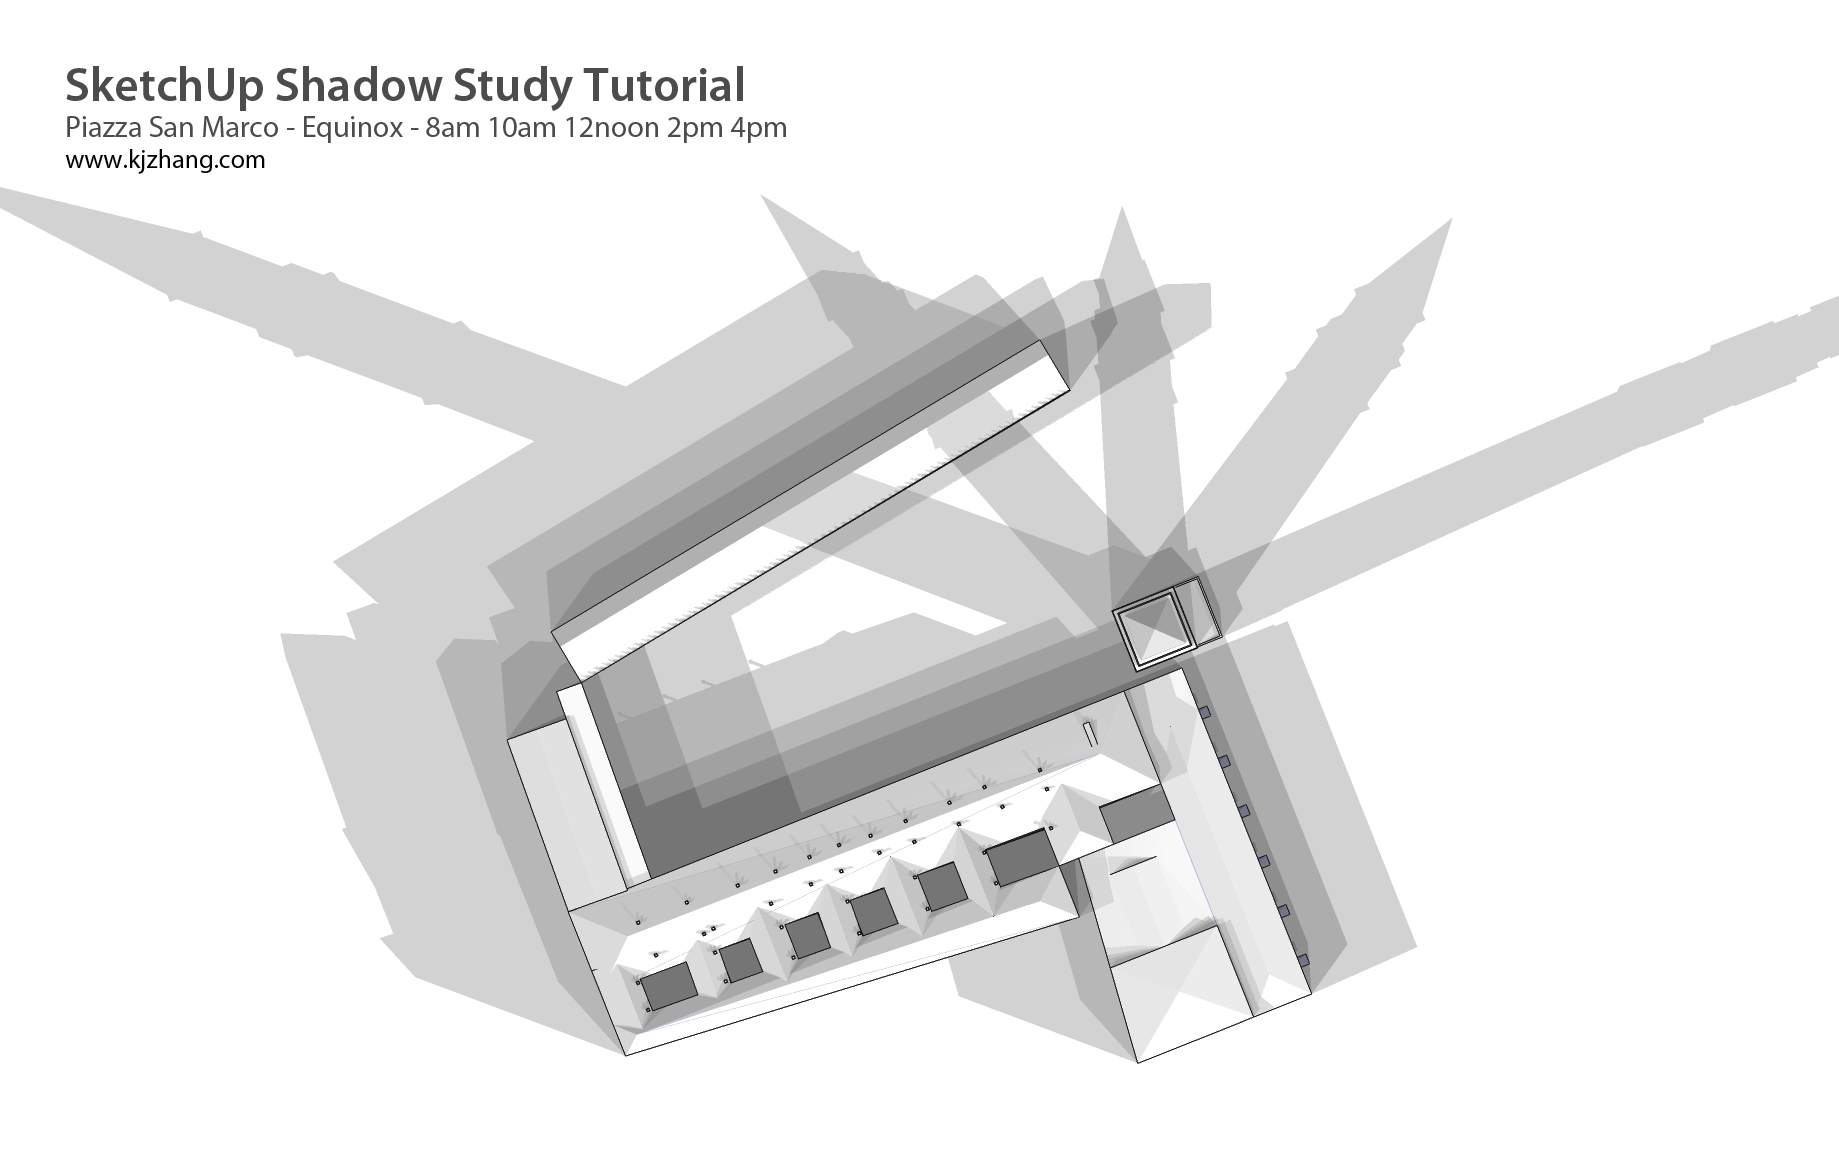
SketchUp Shadow Study / Solar Analysis Tutorial
This tutorial guides you in using SketchUp and Photoshop to construct a shadow study/solar analysis of any development in any location at any time in 4 easy steps. Such diagrams can be used in planning to convey impacts from new buildings, in architecture and urban design for siting well-lit locations among many other purposes. Good luck and have fun.
1. Model Set Up
1.1 Open your model.
Ideally, the model should be correctly scaled with north pointing up. Any model will do. For this exercise I have imported Pizza San Marco by Simon Goldenberg, available from the Trimble 3D Warehouse.
1.2 Geo-Locate your model. File > Geo-location > Add Location
Shadows can only be correct is the location of the model (longitude and latitude).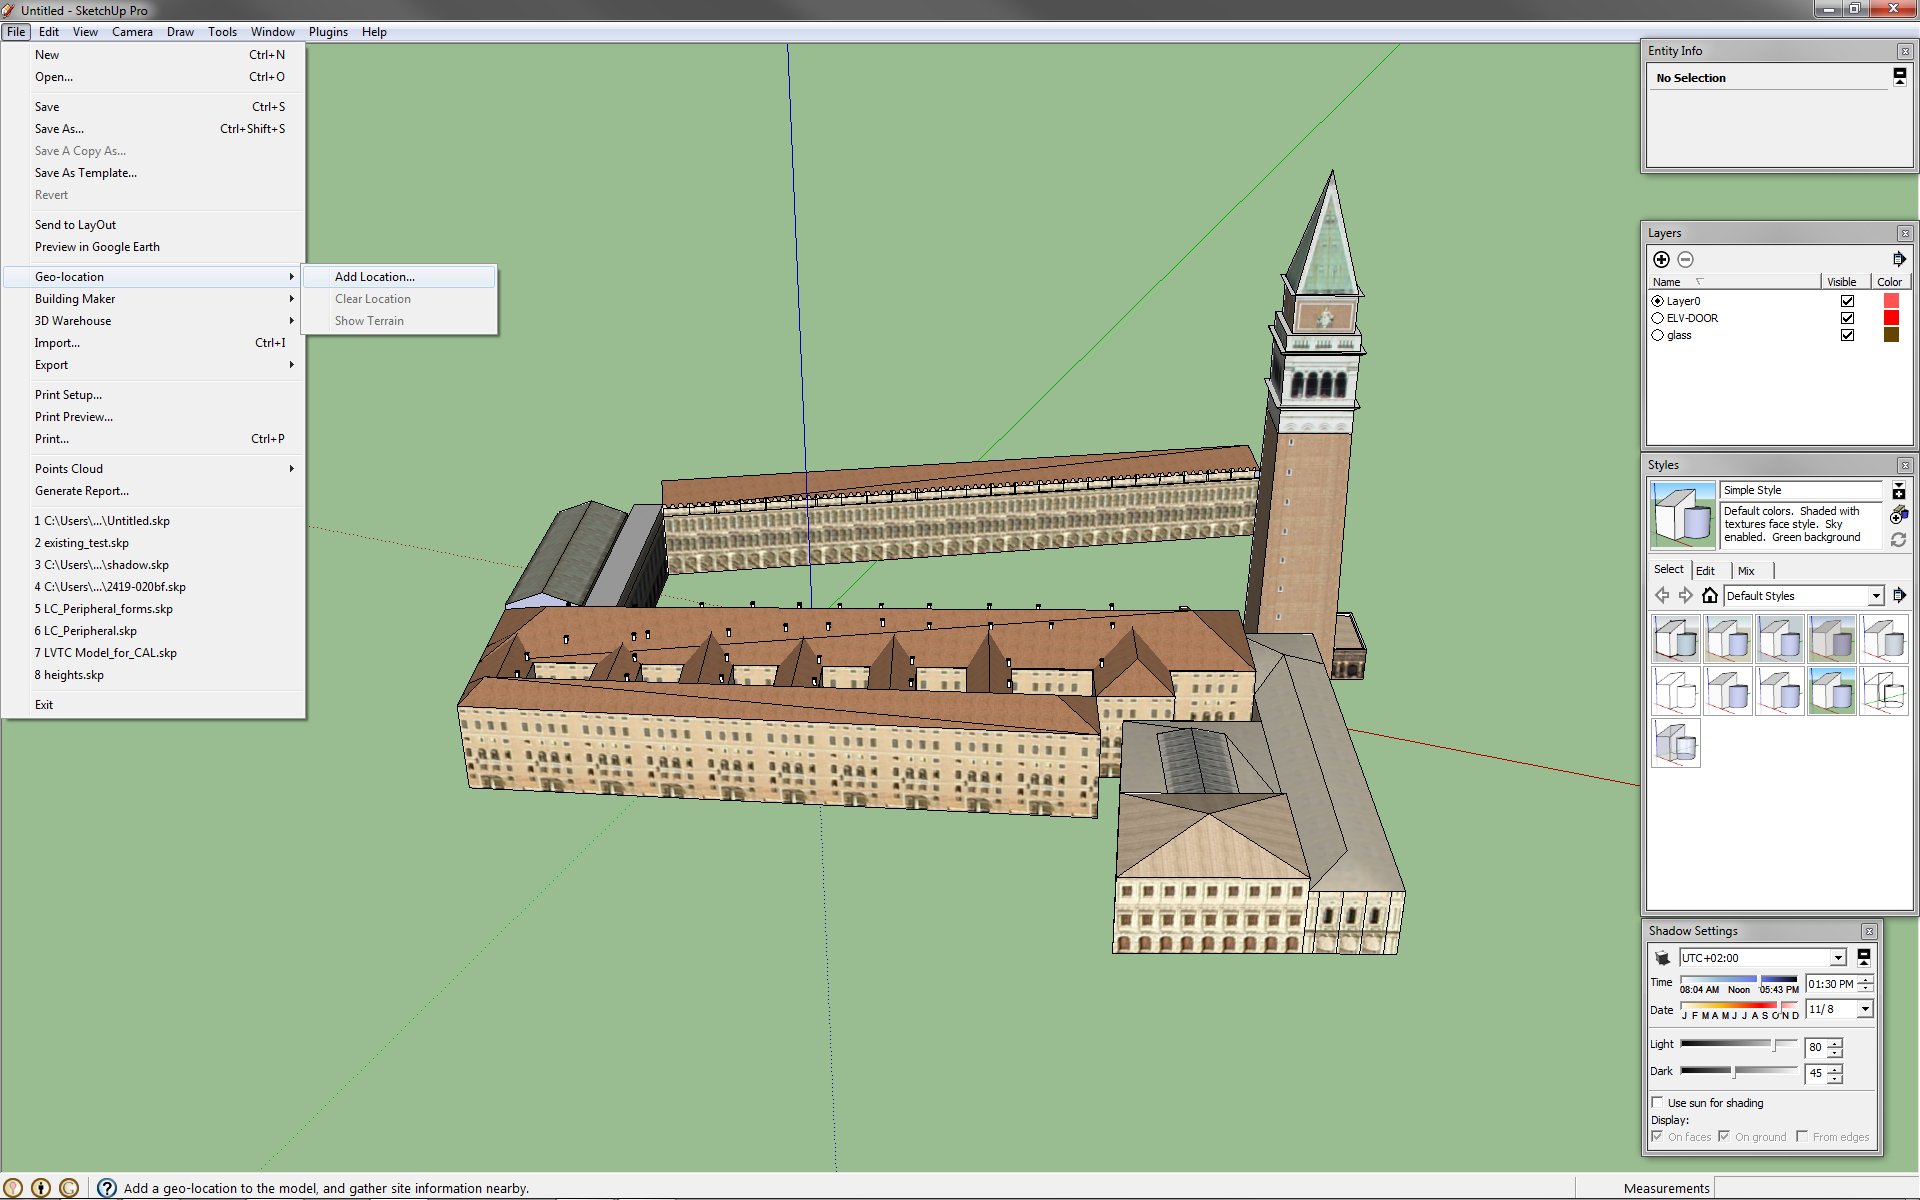
Search and find the location of your site, then click Select Region > Grab.

The GIS coordinates of the site will be imported into your model along with a satellite image and accompanying terrain. Turn off both layers (Google Earth Snapshot and Google Earth Terrain) as we do not need them for this tutorial. We only need the location.

2. Style Set Up
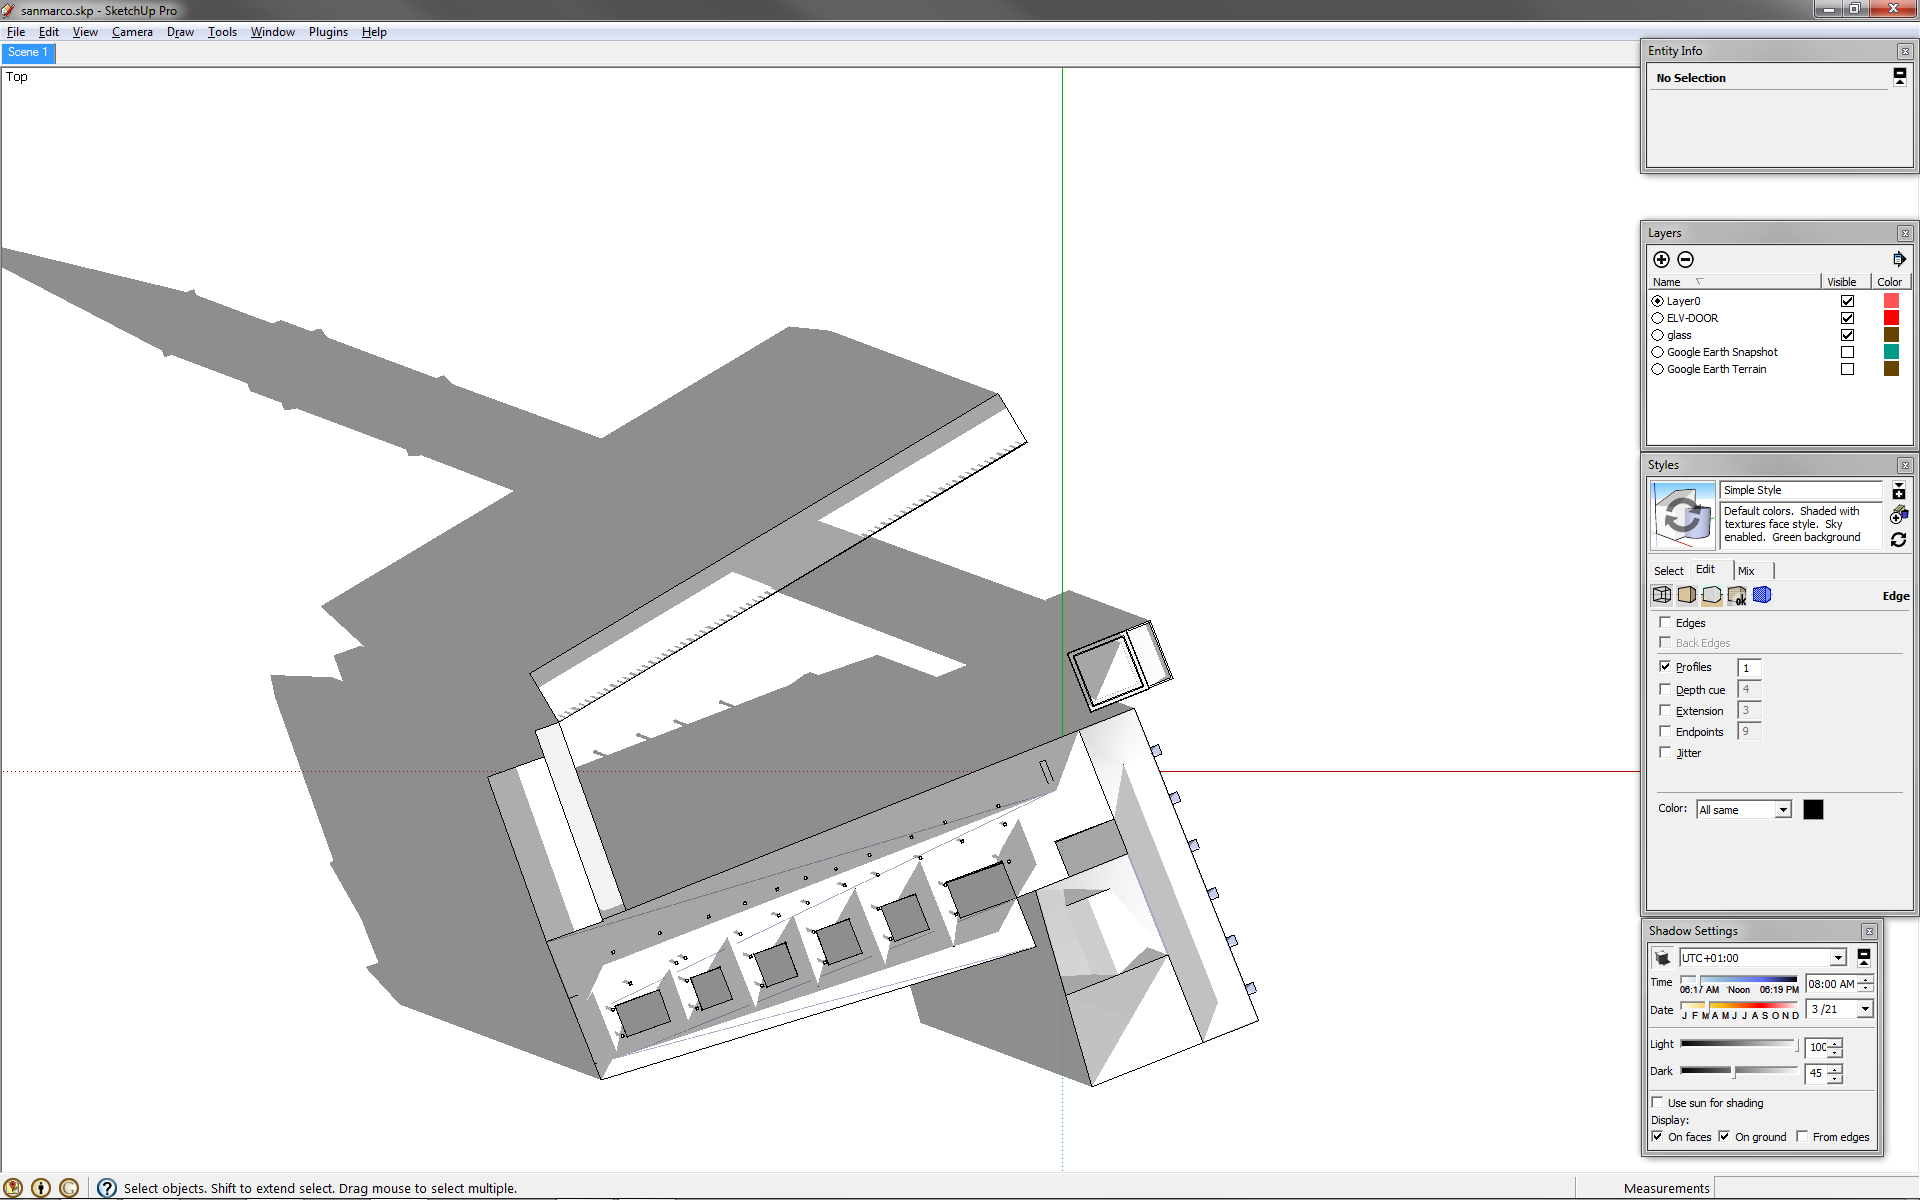
2.1 Set top view. Camera > Standard Views > Top
We want to look at the shadows in plan view.
2.3 Set parallel projection. Camera > Parallel Projection
Plan views usually do not have any perspective, so we much select parallel projection. Once this is down, your view should like below.
2.4 Optional Style Settings. These next few steps are optional.
I personally prefer buildings in shadow studies to have no textures as it diverts attention away from the main point of the diagram. I also like to minimize surface lines and only have the outlines of the massings shown. White background is also recommended as it blends well with other graphic elements in a report.Remove materials
Style Window > Edit > Face Settings > Display shaded using all same.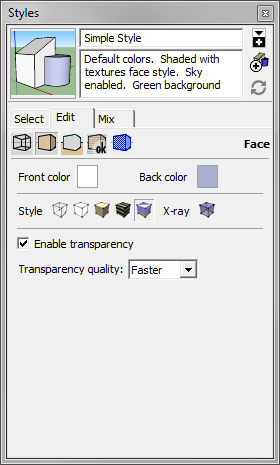
Remove edges, add profile lines
Style Window > Edge Settings > Uncheck Edges and Check Profiles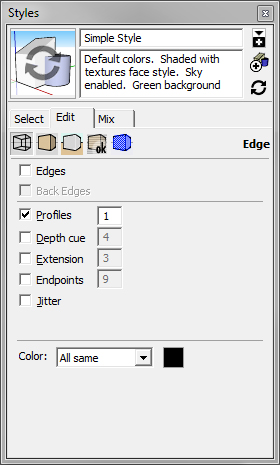
Change background to white
Style Window > Background Settings > Background.
3. Shadow Projection
3.1 Apply Shadows. Window > Shadows
Applying shows is the easiest part of this tutorial, just open the window and turn on shadows by clicking the icon in the top left and pick a date and time of your choice. If you are only doing one date, I suggest the equinox. If you want more accuracy throughout the year, I suggest also doing the summer and winter solstices.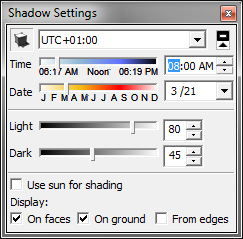
3.2 Export Image. File > Export 2D Drawing > PNG
Repeat this step for 8am, 10am, 12 noon, 2pm, and 4pm. You should have 5 images with different shadows.
4. Compositing
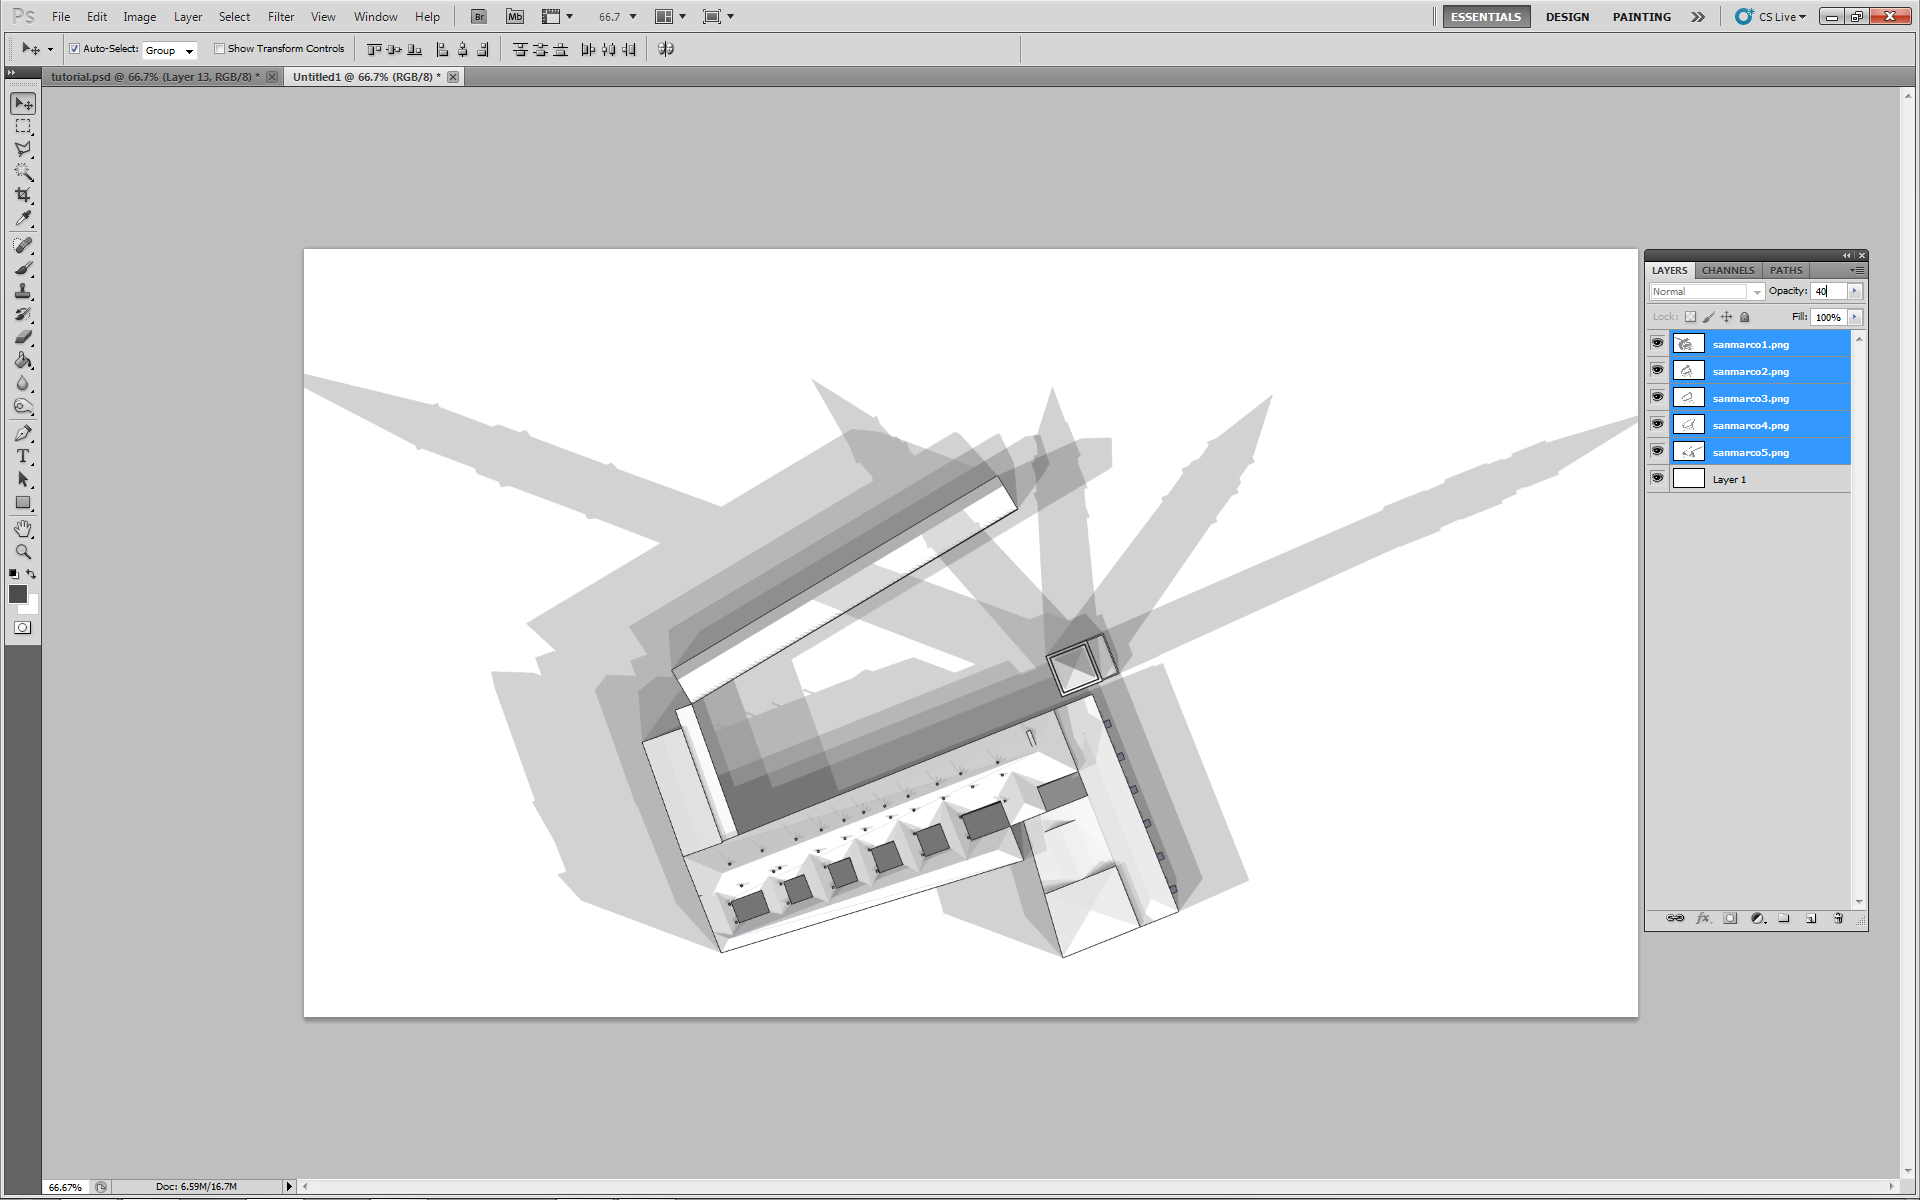
4.1 Open Images in Photoshop. File > Scripts > Load files into Stack
Use the above native Photoshop script to import all of your 5 images as separate layers in 1 Photoshop file.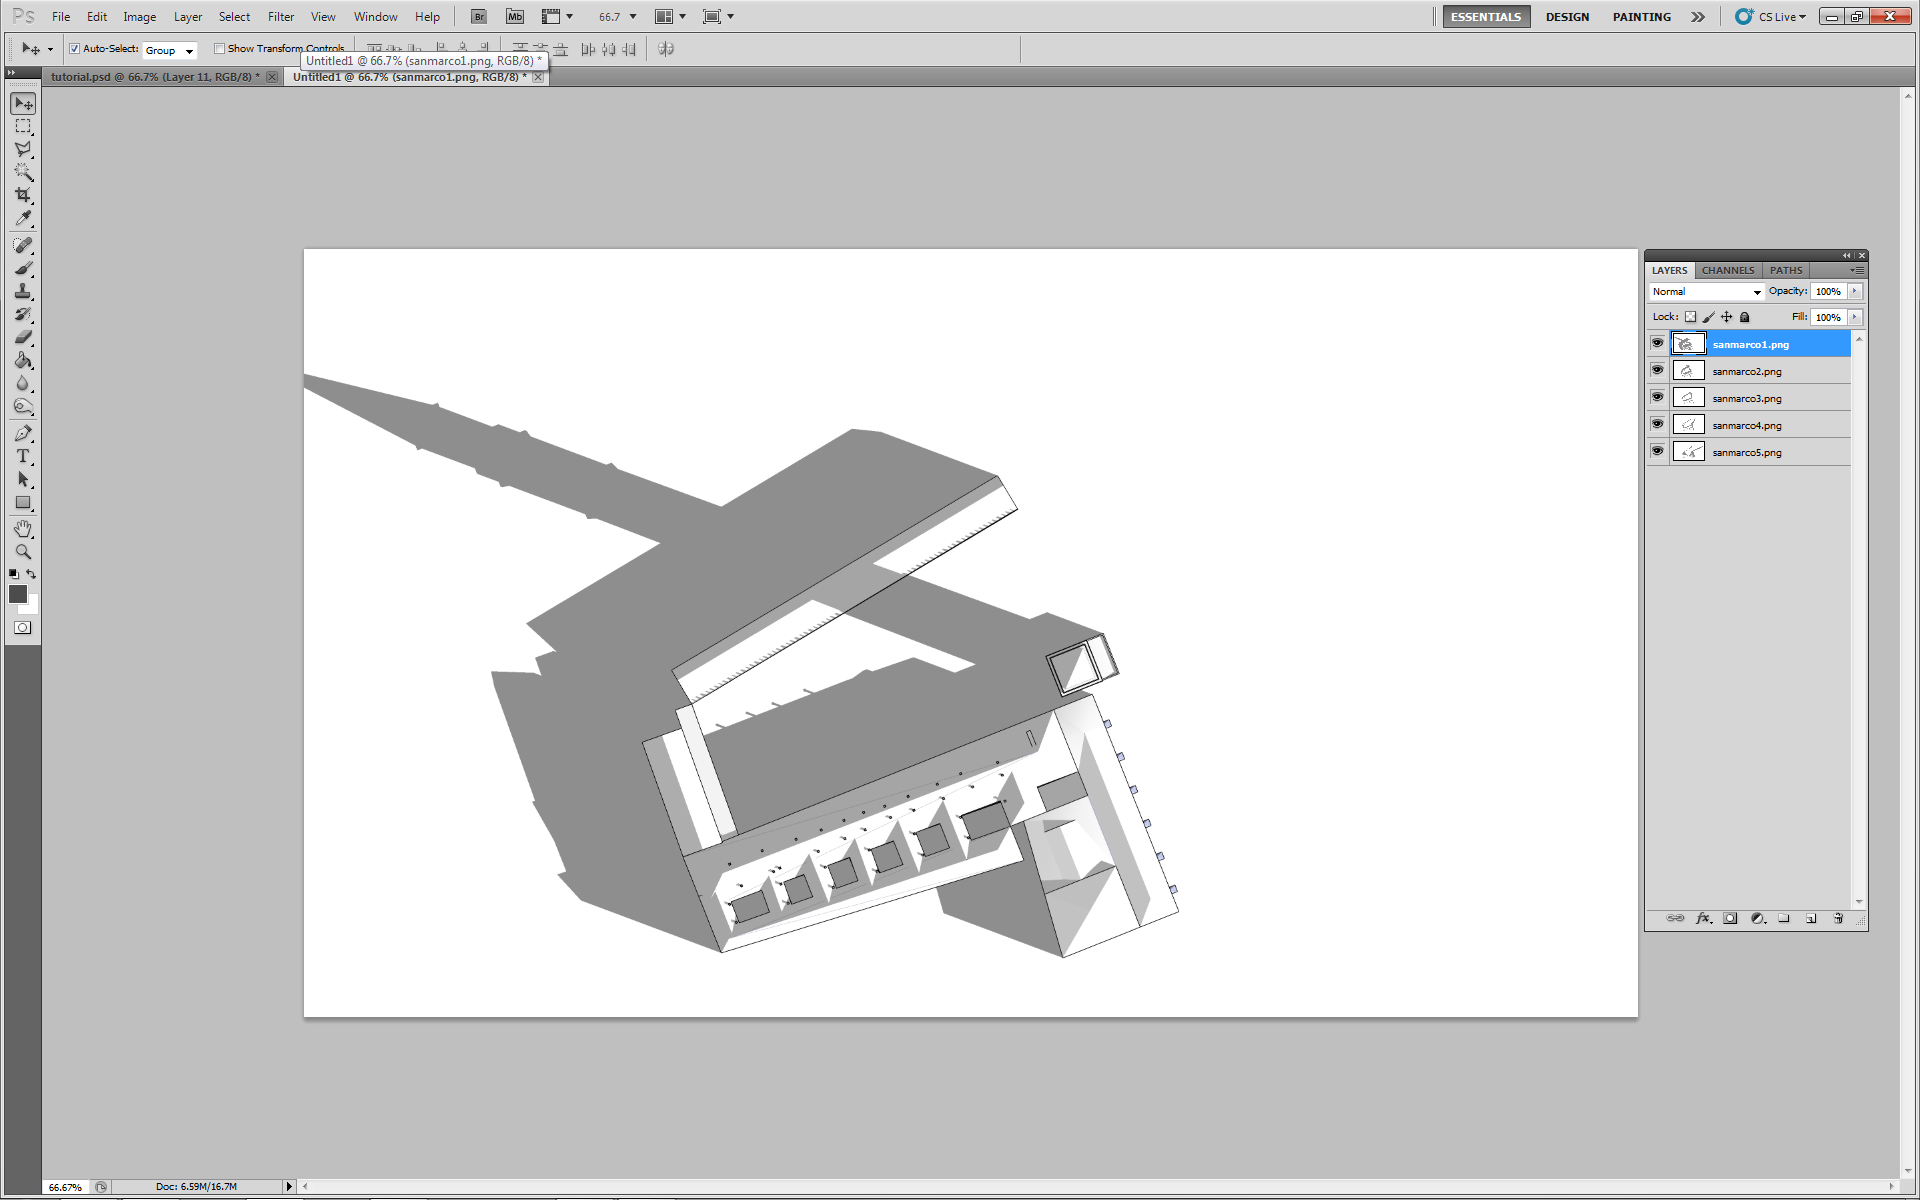
4.2 Style Multiply
Change the layer style to Multiply for all layers so that the shadows overlap.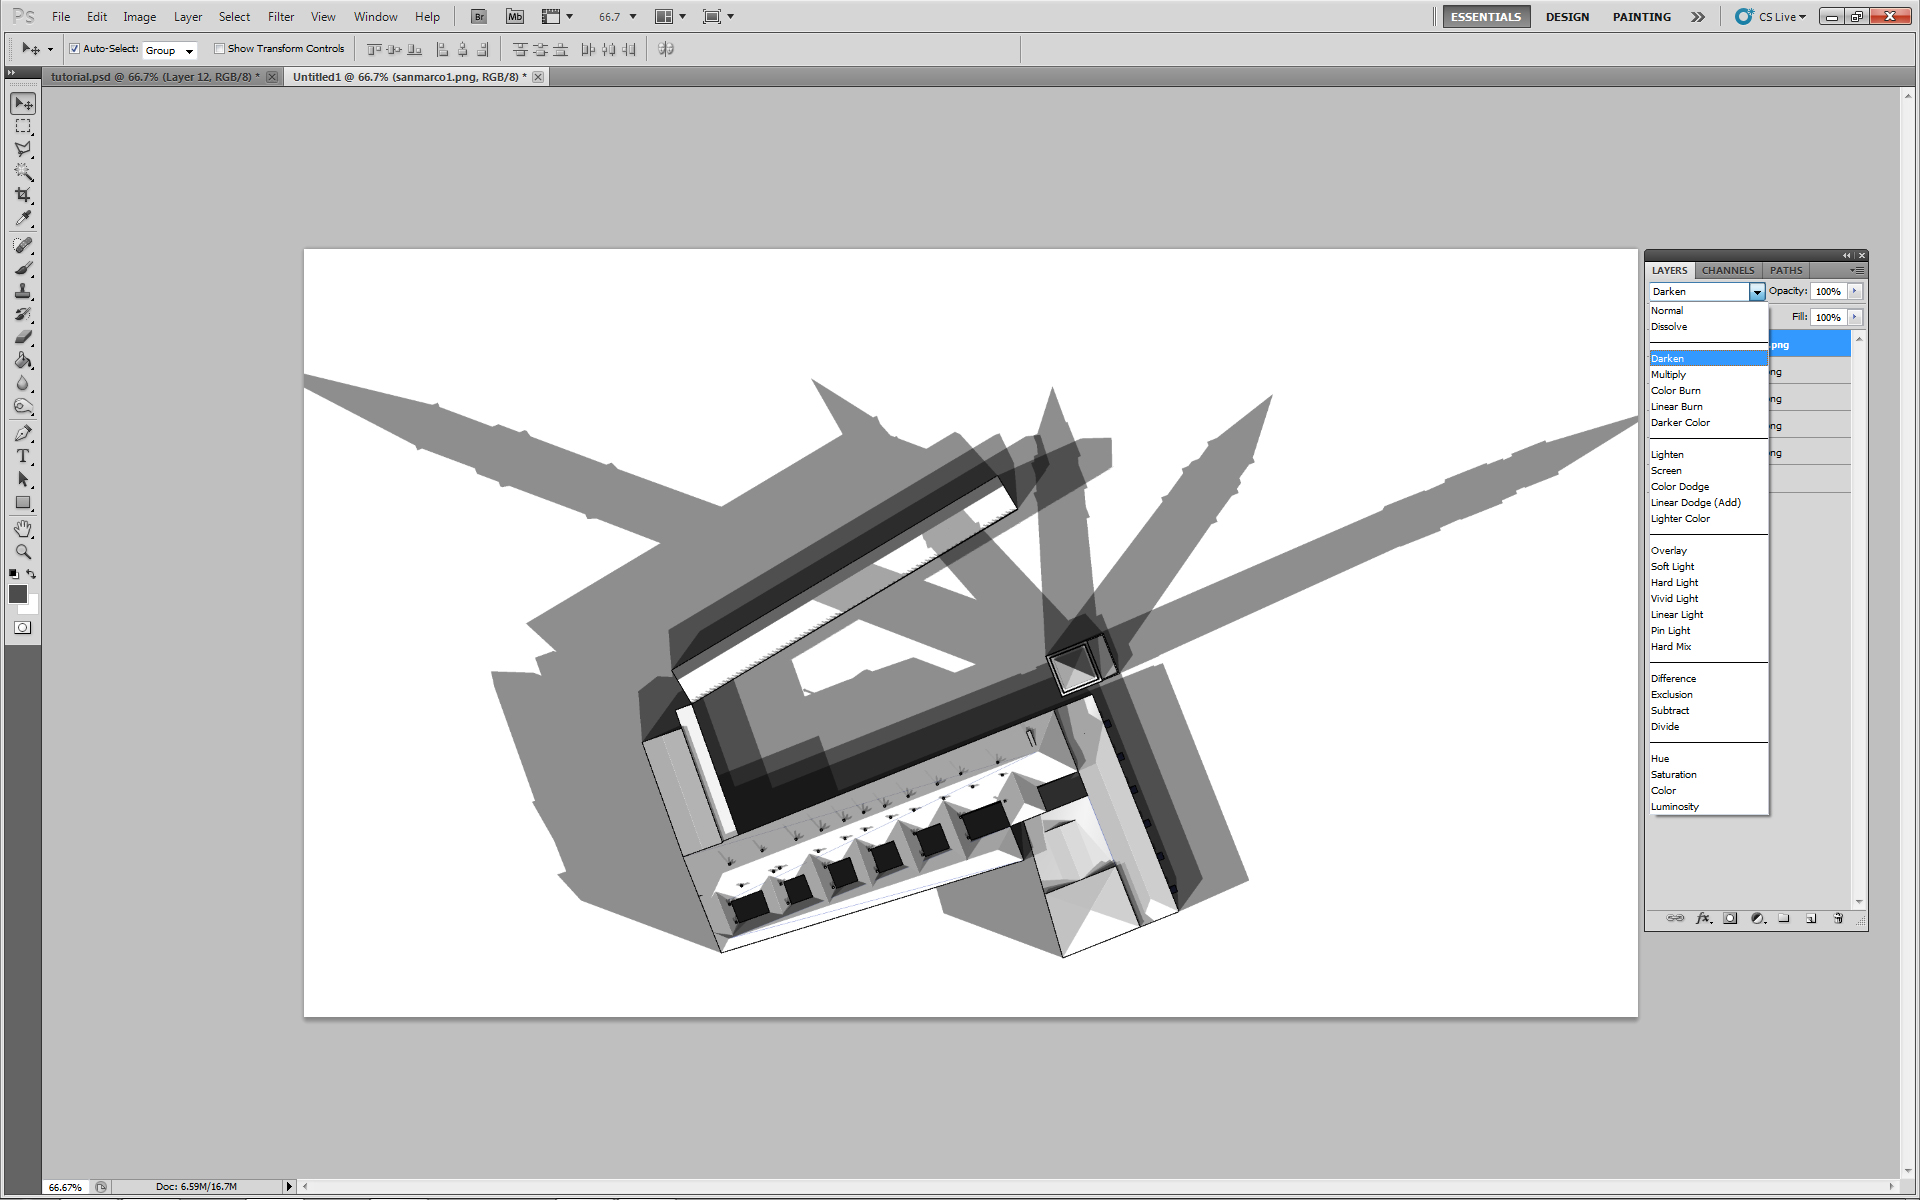
4.3 Adjust Opacity
Change the opacity of all layers to 40% to lighting the diagram and accentuate the gradient in the shadows.